
*Note: I first posted this tutorial in my Meylah shop that I have since closed for an indeterminate vacation.
How to needle felt a realistic looking eye.
Materials: 40 T All purpose felting needle and a 38 Star
felting needle, foam mat, several swatches of wool roving in these colors:
white, black, brown, flesh tone, a light color for the eye and a darker color
in the same color family.

First using your white roving, needle felt an oval. You can
use either needle, I generally start with a 40 T and finish with the 38 star.

Next take a swatch of your light eye color and wrap it into
a flat circle, putting it in the center of the eye.

Needle Felted it into a round
circle in the center of the eye.

Taking your darker
shade of eye color, pull it into a long thin line and then needle felt it
around the lighter color.


Now taking a piece of black roving
make a smaller circle for the pupil and needle felt it into the center.
Then with your brown roving needle felt a thin line around
the pupil.


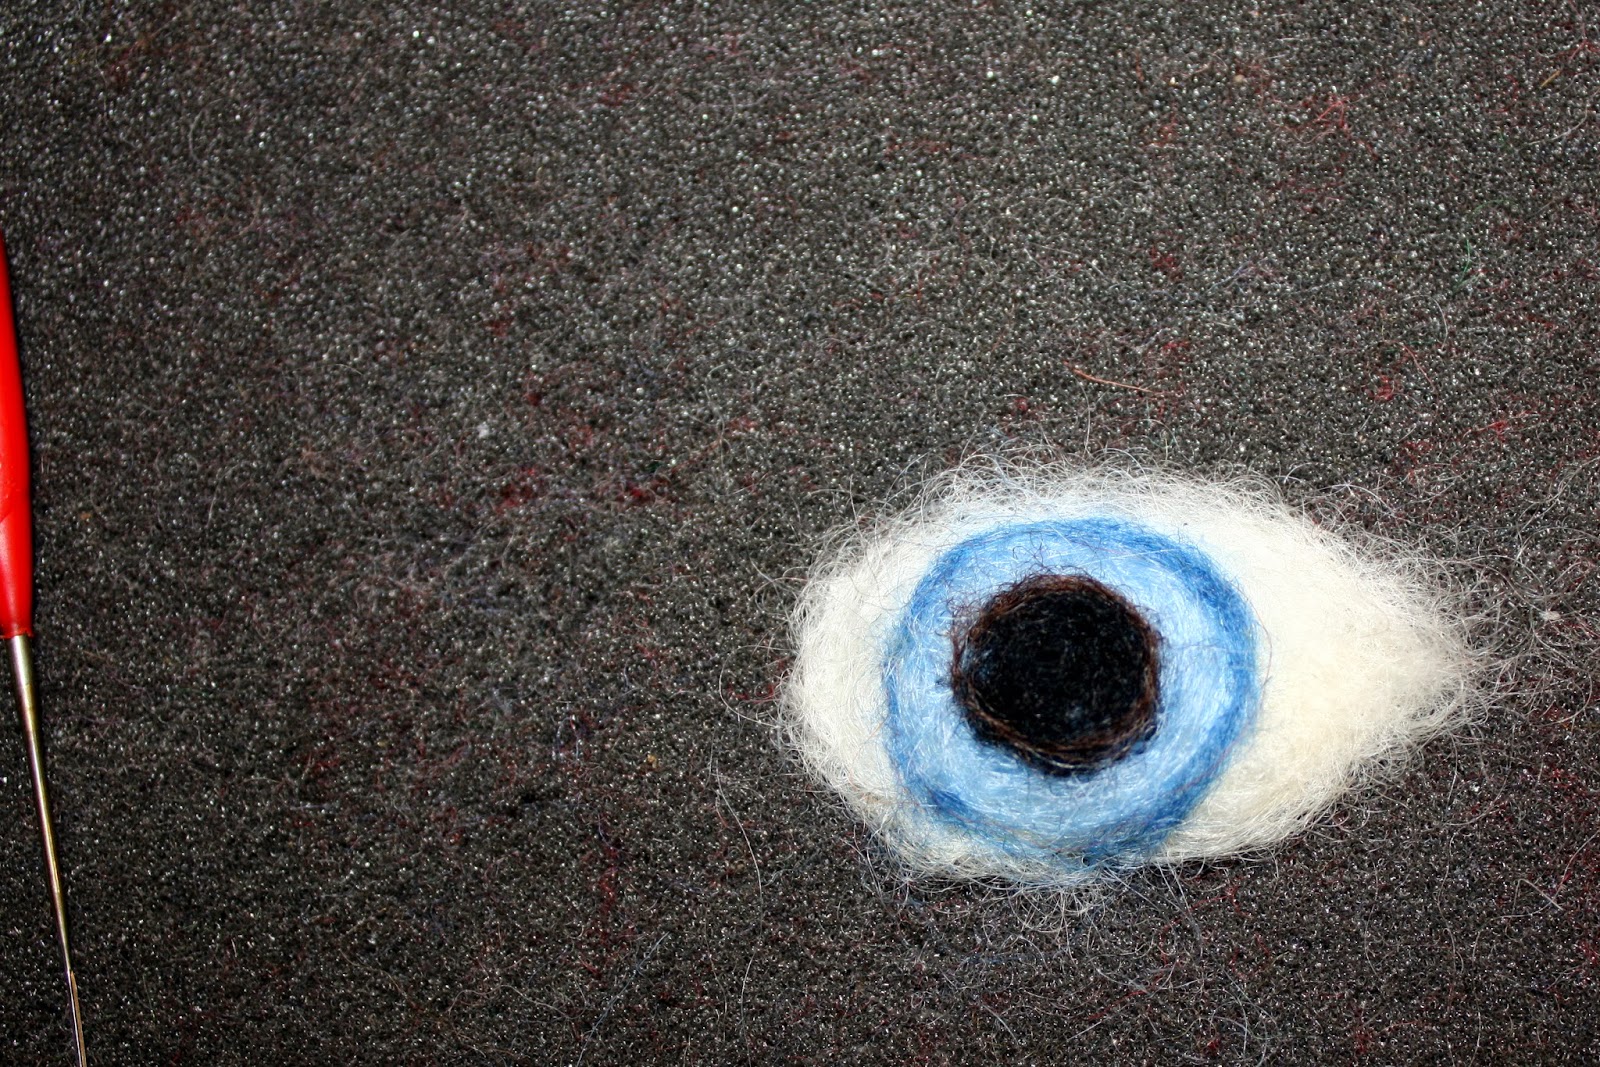
Voila, we are almost there!
Now with your white again make a
small circle on the edge of the pupil with your felting needle. For this I like
to use my Star needle.

It should look like this picture.

Now for the eyelid. Take a small
swatch of your flesh roving and shape it into a crescent.

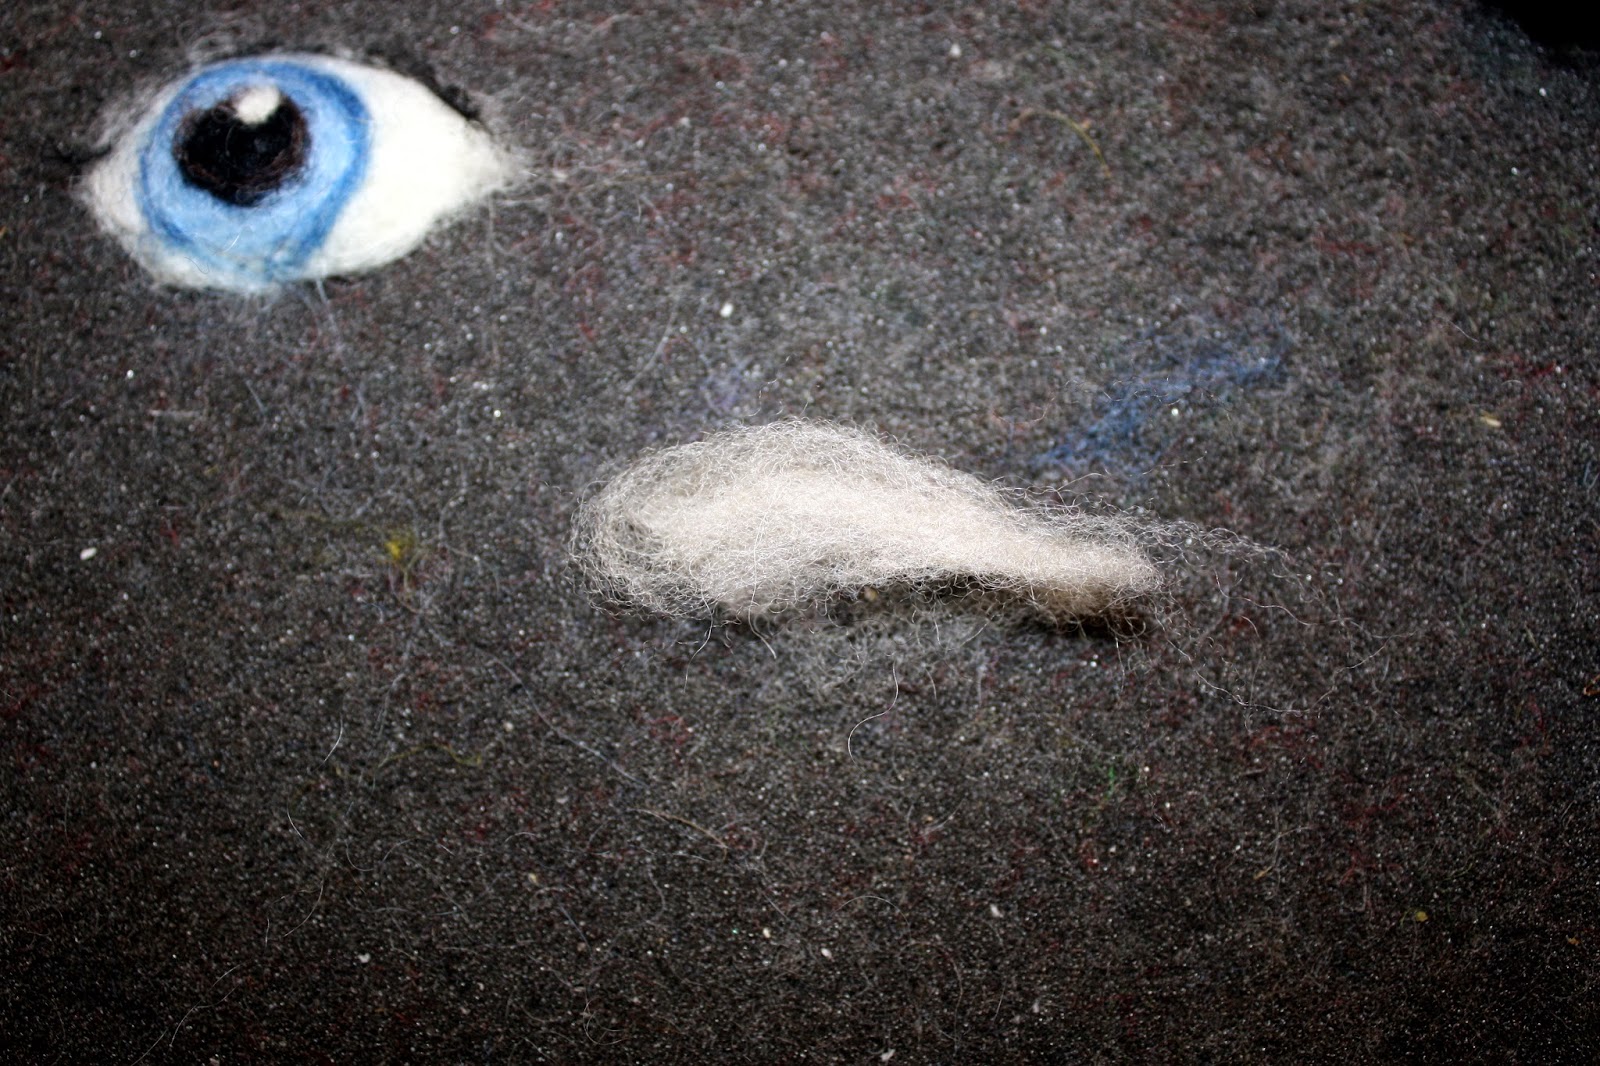
It should look like this…

Needle felt it so that it is a solid
piece and then attach to the eye like this..

Needle Felt it down.

Now with your black make a thin
strip and carefully needle felt it onto the eyelid where the lashes would go.


You are finished! You can use this technique by following
the steps on your felting projects face or make the eye like we did here and
felt it into place.
Hope you enjoyed this tutorial! Happy Felting!
Thank you so much for this tutorial!! Very detailed. I love it! :)
ReplyDeleteI like your tutorial, thank you!!
ReplyDeleteGreat tutorial! Thanks.
ReplyDeleteThank you for teaching me
ReplyDeleteWow thank you
ReplyDeleteGreat tutorial, thank you for your willingness to share.
ReplyDelete