Yesterday was an exciting day for me. Gina Bullard from our local CBS affiliate WCAX came and profiled me for their Made In Vermont segment. Gina found me through searching local on Etsy. She and Shelly the WCAX photographer did an amazing job creating and editing the video.
Here is the link for you all to see:
http://www.wcax.com/story/27763998/mivt-felted-gnome-products
The Gnomes

the gnomes
Tuesday, January 6, 2015
Tuesday, July 29, 2014
How to needle felt a toadstool
Red Mushroom Tutorial
Please be advised that felting needles are very sharp and
will hurt if you stick yourself! Always use a foam base to needle on. When
needling wool it is important to jab the felting needle straight in and out at
any angle. If you try to twist or bend the needle it will break. This tutorial
is for a beginner and is just to introduce you to the wonderful world of needle
felting! Once you get the hang of it, you will be able to make anything your
heart desires with enough practice!
What you need for this project:
A tuft of white core wool
A tuft of red wool
A skewer
A felting needle and a foam base.


Start to wrap the loose ends of the wool around the knot and
needle it firmly so the top is rounded and the bottom is somewhat flat.


Now set that aside and grab your skewer and white wool.
Holding the white wool like a flat ribbon start tightly wrapping the wool
around the skewer, wrapping more at the top then the bottom so that you will
have a stem like shape that is larger at the bottom. Leave the top fluffy, this
is where you are going to attach it to the cap.


Slide of the stem off the skewer and start needling the stem
on the bottom and the sides until it is firm. Make sure you leave the top part
fluffy!


Now to join the cap and the stem! Take the fluffy part of
the stem and needle it to the flat part of the mushroom cap. Needle it firmly.


And there you have it! If you would like you add more red
wool around the cap to make it bigger or add white dots to make a gnome
toadstool!

Wednesday, November 20, 2013
Giving Thanks to some of the most wonderful people in my world...
In the spirit of giving thanks for the blessings in my artistic life I want to present the some of the best people in my little felting world.
When I started and through out this artistic endeavor I had a lot of support from women and I want to acknowledge these amazing wonderful people.
Nilda my sister who saw what I was doing and said " You know these are really good you could sell these." Now this statement was very important to me because my sister is a straight shooter (some would say blunt) and if she says its good, its good. She also single handedly runs Kerr Advertising which is a pretty amazing feat.
Angie and Jennifer who were my very first customers. I made them both Santas in 2011 and they insisted on paying for them, wow what a feeling!
Lisa Angell from Boutiliers Art Center who has given me unfailing support and was the very first store in Vermont to display and sell my felt.
Natacha Luizzi at Brown Dog Books and Gifts in Hinesburg. Brown Dog was the second store in Vermont to carry my work and has been ever since she emailed me after my friend Laurie Brown (who by the way owns Triple Loop) gave her my card.
Mary Heinrich Aloi from Vintage Inspired Market Place who took a chance on me teaching needle felting classes at her store.
Joanne Kalisz from Happy Fantastic who has become my friend. She has offered support and advice ever since I showed my work on my Iphone at the BeCause craft show.
Laura Hale from Found Beauty Studio who found my facebook page and I think was one of my very first fans. She became my friend and mentor. Not to mention she is one of the funniest people I know and has my similarly skewed sense of humor.
Bradie Hansen of Jabo and Belles who has been my partner is crime when it comes to wool experimentation. She and I met after we emailed each other on etsy when we saw that we were both in the same area of Vermont. I don't know what I would do with out her and this next gal...
Leslie Lewis of Ewe Who Farm. My friend and first local wool supplier. Fabulous quilter, knitter, dyer and friend.
Carol Farmer and the gals from Mountain Fiber Folk. These ladies freely share ideas, techniques and have some of the best wool in Vermont.
Molly Molly who was my very first sale on etsy. God I love that girl.
Laura Amedio who was my first out of state repeat customer. There were times when I would think what the heck am I doing and then Laura would pop up and say I would like to order....
Amy and Mark Yandow from Sugar Tree Maple Farm who had me set up a table at their sugar house during Maple Open House. They are some of the most fabulous people that you will meet. Go buy your maple sugar from them.
Megan Humphrey and Moe O'Hara who run the Women's Festival of Crafts. They run the best women's craft fair in the Burlington area and the biggest one I have ever done.
Vermont Handcrafters who juried me in, introduced me to some of the most wonderful artists and has been a wonderful support and resource.
Ellen Thompson from Grand Isle Art Works who sought me out to sell my work at the store. She and her husband are the reason there is goats in my repertoire.
The thing that all these folks have in common besides be a great support to me is that they are all small business owners. Everyday they go to work at a business that they created and shaped. So for small business day and for the rest of the year please support them. They offer wonderful products and service from Vermont. You will be thankful to know them. I know I sure am.
Friday, October 18, 2013
How to Needle Felt a Realistic Eye
*Note: I first posted this tutorial in my Meylah shop that I have since closed for an indeterminate vacation.
How to needle felt a realistic looking eye.
Materials: 40 T All purpose felting needle and a 38 Star
felting needle, foam mat, several swatches of wool roving in these colors:
white, black, brown, flesh tone, a light color for the eye and a darker color
in the same color family.

First using your white roving, needle felt an oval. You can
use either needle, I generally start with a 40 T and finish with the 38 star.

Next take a swatch of your light eye color and wrap it into
a flat circle, putting it in the center of the eye.

Needle Felted it into a round
circle in the center of the eye.

Taking your darker
shade of eye color, pull it into a long thin line and then needle felt it
around the lighter color.


Now taking a piece of black roving
make a smaller circle for the pupil and needle felt it into the center.
Then with your brown roving needle felt a thin line around
the pupil.


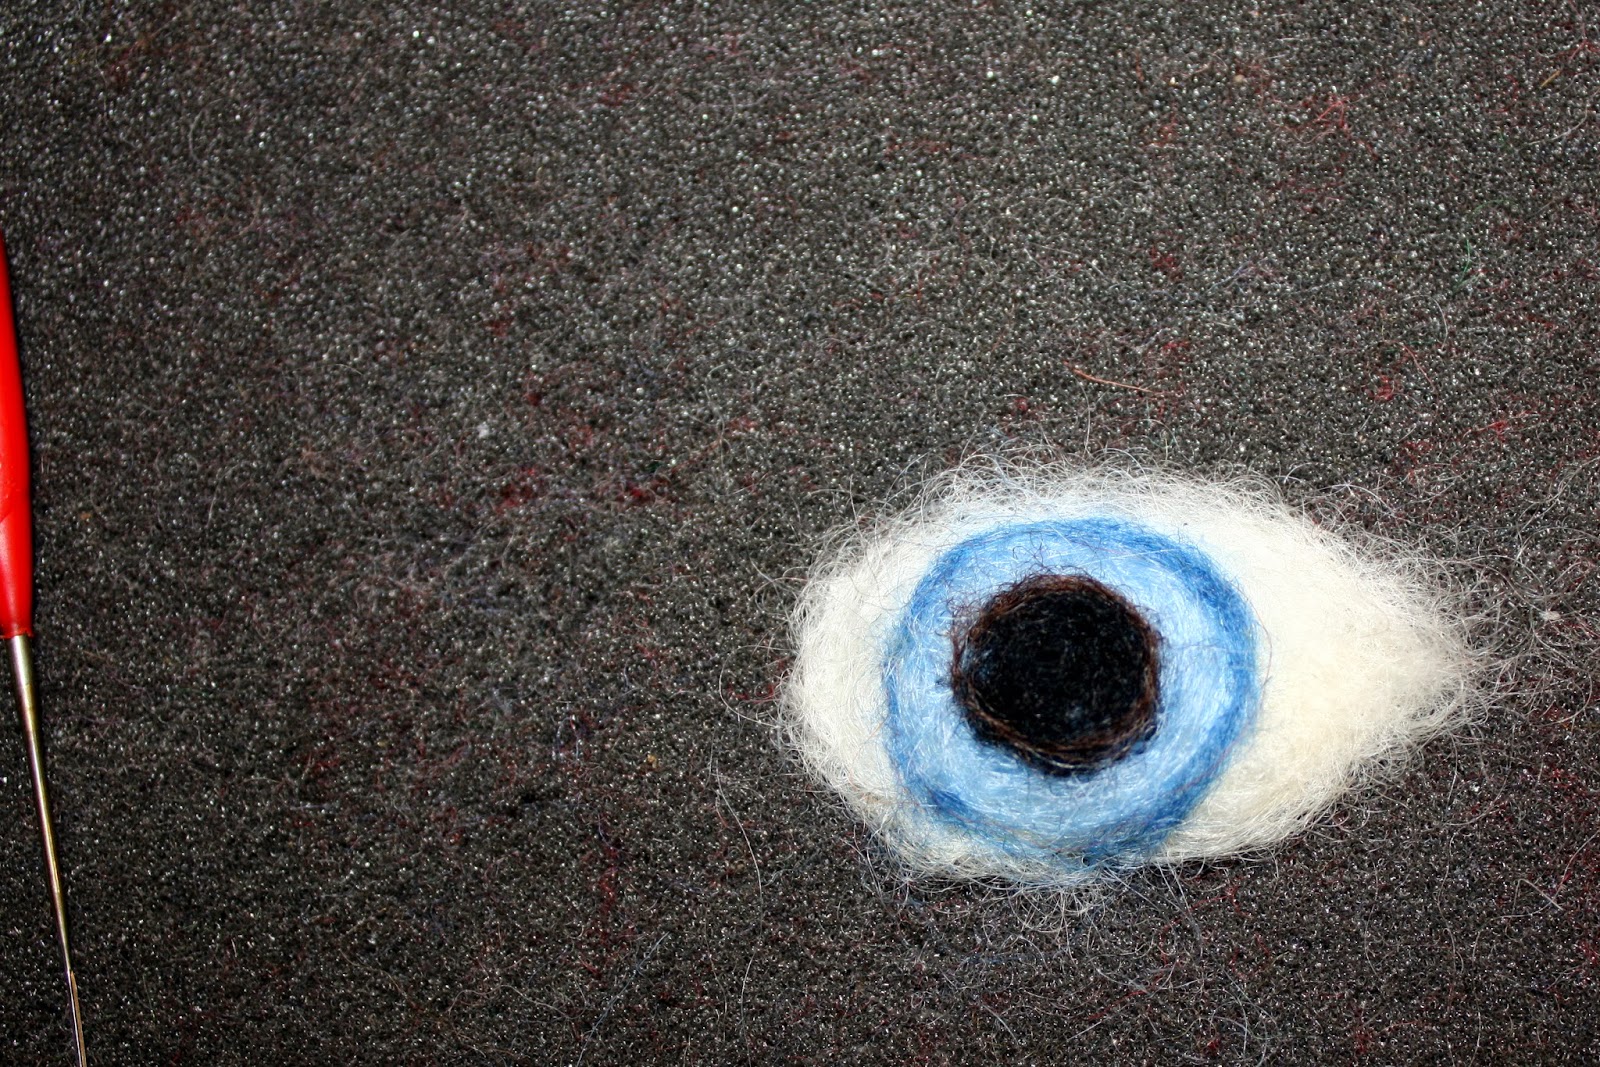
Voila, we are almost there!
Now with your white again make a
small circle on the edge of the pupil with your felting needle. For this I like
to use my Star needle.

It should look like this picture.

Now for the eyelid. Take a small
swatch of your flesh roving and shape it into a crescent.

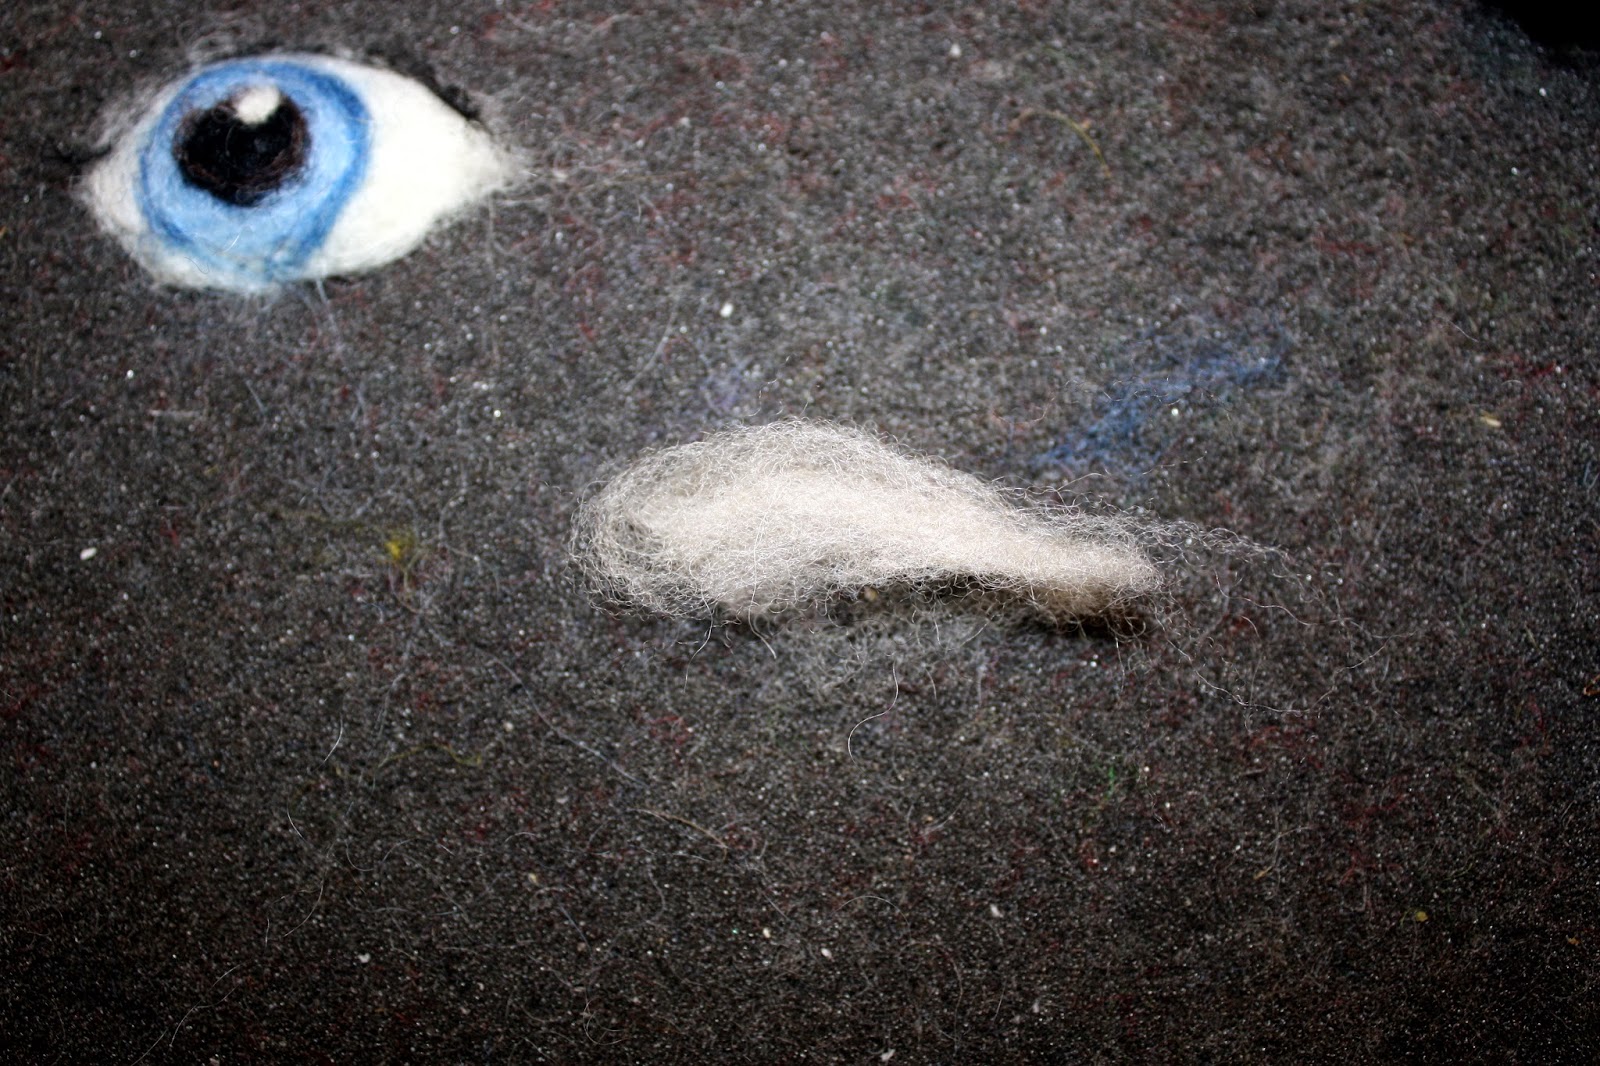
It should look like this…

Needle felt it so that it is a solid
piece and then attach to the eye like this..

Needle Felt it down.

Now with your black make a thin
strip and carefully needle felt it onto the eyelid where the lashes would go.


You are finished! You can use this technique by following
the steps on your felting projects face or make the eye like we did here and
felt it into place.
Hope you enjoyed this tutorial! Happy Felting!
Monday, September 30, 2013
There is No Assembly Line in Handcrafted Felt
I have been thinking about writing this piece for several months. Many of my fellow artisans, jewelers, silk screeners, illustrators are in production mode right now for the holidays. Many of them are able to make many of the same thing by creating an assembly line type way of working or in the case of illustrators/card makers and silk screeners transferring the image onto a wide variety of products. Some are even able to hire folks to assemble for them.
As a felter I have wracked my brain to figure out a creation that I can mass produce in a timely manner. There a few products that I make where it is possible.


As a felter I have wracked my brain to figure out a creation that I can mass produce in a timely manner. There a few products that I make where it is possible.
Acorns being one of them. I needle felt and then wet felt the wool balls, dry and acrylic the acorn tops, drill holes, add fishing line and then glue them together. I can do quite a few acorns this way.
Little nest pins are the other that I can produce similarly to the acorns.
Honestly that is really about it. Every other creation is really a one of a kind piece of art work that is made from start to finish over a period of hours or days. It can't be replicated. Both wet felting and needle felting is not a quick process art form. You can't hire people to help make your pieces because then it becomes their piece since every piece will have a personal spin regardless of how you try to make it uniformly.
I am always baffled when people ask me how much time it took me to make something. If I really told them and charged for the actual time they would not be able to afford the pieces. Each piece has wool that has been sourced from a Vermont farmer or a small New England company. These days it has wool that I have bought raw, washed and carded to make it usable for felting. Skirting a fleece, washing and carding and sometimes dying is a whole other story.
So when you see my meager offerings at a craft fair or on etsy and wonder why there is not more of the same or replications that is why, you are getting a one of a kind piece of art. And by the way, price wise you are getting a steal.
Subscribe to:
Posts (Atom)